Taking the Stand

Since my operation on my shoulder, I've all but stopped posting images on the blog.  Why?  Several reasons.  I found a site online which was kinda stalking my work.  Odd... But in the recent several days, I thought about saying to hell with it... So here it is.  I am going to start posting images again.  

Now if you haven't been following danrusso.com for very long, make sure you check out the ARCHIVES.  Why?  I transferred my blog to this newer version.  And you'll be able to see scores of great photos I've taken.   

In keeping with my renewed direction of sharing my photography on this blog, I've decided to re-share photos from the ARCHIVES along with newer photos. 


Cheers! 

Film Developing Problem

I'm having a serious problem developing film. I went about 4 months, where I couldn't develop film. It was last summer. I was in Connecticut recuperating. I kept my solutions in a dark usually cool place. However I was not there to monitor the solutions; and several heat waves struck the region.

When I finally developed my film the negatives came out clear. I thought the heat destroyed my solutions; or something was wrong with my camera. As I had followed the same developing techniques I has successfully developed in the past. And the film camera I had used to shoot was with me in CT in an air conditioned home.  So it was spared the heat waves' affects.

I tried different cameras and lenses to rule them out. Even different formats. 35mm and 120mm. All failures. Each time the negative came out clear. The numbers were on top of the film.

Earlier this week I purchased a new round of solutions. I mixed them with distilled water at 68˚ F / 20˚ C. While carefully monitoring the temperature of the solutions, I developed a test roll. Fail. Clear film. It's killing me!!!

Any thoughts?

Simply Amazing! 12 • 12 • 12

What an amazing night!  The 12-12-12 Concert tonight was spectacular.  What an amazing thing.  Donate as much as you can. 

Please donate.  Text ROBINHOOD to 50555 and donate $10 straight from your phone

12 • 12 • 12

What a crazy time the past couple of weeks have been for me.  I'm not going to go into details.  However lets just say that overall I am a happy man :)  And today is a once in a life time day!  12 - 12 - 12 baby!!!!

I've been working on a nice little 3D project for Current TV.  Photographing tons of things around New York City and best of all... I helped children by participating in the Photo Day Project 2012, in Washington Heights (aka Fort Washington) at ICC on 172nd Street.  It was spectacular.

Well today is 12•12•12.  I sent off my 3D project to the render far... all while being serenaded by Alesha Keys as she performed at the 121212 Concert at Madison Square Garden., along with amazing bands and artist, such as The Rolling Stones, The Who, The Boss and many many more!  This is a spectacular night! And to top it off... I am posting a photo I took with my Canon AE-1 shooting Illford Delta 400 film, which I developed.  It's not perfect but I liked this photo from the moment I framed it up in my camera.  

Photo by Daniel Russo ©2012 All rights reserved

If you have not yet shot film.  Don't worry about developing it.  Just shoot it.  It slows you down nicely.  You look deeper, longer and pay better attention to the details.  I highly recommend it!  For developing, you can google black and white developing to find a local place near you.  If you can't find a place which develops black and white film you can send it off.  Or do what I did... learn how to do it yourself.  it's super easy.  There's a ton of great tutorials in YouTube.  If you shot with color film, I would still recommend looking for a place which  develops black and white.  They will usually develop color too... and do a quality job.  Otherwise check out places like Cosco or Wallgreens.  Cosco is super cheap and do a decent job. 

Good luck and let me know if you need any help.

Backups & Upgrades

Well this isn't the usual entry to my photo blog... but it's a pretty important, for my end.  This past holiday I took my much valued time off to work on my MacPro and Drobo.  I've spoke before about creating an Equipment List web page.  Working on my main computer was an essential part of living up to my promises.

If you have ever had a computer for a length of time; or backed up the user/s for a transfer to a new computer, you'd understand why I had to do what I did.  To prevent brain freeze I've summed it up.

I replaced 2 hard drives in my system, formatted and transferred the data from the old hard drives into the new hard drives; and transferred the data from my drobo  onto new hard drives as well.  After reinstalling the operating system I copied my data back and reinstalled all software.  So what did I do with the old drives?  I made sure I can still use them by grouping all the parts of the hard drive which no longer work (aka "Bad Sectors").  Now those drives serve as extra back up drives.

So why am I telling you all this?  It's simple.  They key is in the 2 new drives I purchased.  One acts as the main hard drive.  The second is backed up every night automatically using a program called Super Duper.  This is a good way to back my data up.  But it's not the only way I do so.  I frequently backup using other means, which I will not go into for security reasons.  However if YOU wanted to have more than one way to back up  read below and bookmark this blog entry!

  • Make 3 different copies of your data.
  • Use 2 different methods of backing up.  i.e. Hard Drives & Optical Drives
  • 1 of the backups should be off-site.

This is called the 3-2-1 philosophy of backing up.  For more information Google 321 backup or click here for an extremely brief explanation of the philosophy.  (Please be advised I am not responsible for the views or opinions expressed on this website.)

A Timid Fall

2012 has shown to be quite timid.  The weather has yet shown us how warm it can be just two days before Thanksgiving.  Sixty degrees in New York City.  I travel to the Saint Lukes Garden on Hudson Street in New York City to take photos of the lovely effects of fall on the beautiful garden.  This is what I found

Bird-napped

colleague of mine pulled a little joke on a co-worker.  The co-worker had a little bird on her desk.  He took the bird, wrapped a napkin around it's eyes and placed a rubber band around it's torso, to simulate rope.  The bird is only 3 inches long.  Perhaps 2 inches tall.  His goal was to send her a note informing her that her bird was bird-napped.  He wasn't extorting money or anything.  It was just for laughs.

He asked me to photograph the bird, so he can send her a picture of the bird-napped bird.  We use large WACOM tablets.  I placed the bird on top of his tablet and used my tablet as a background.  Effectively making a semi-seamless.  I used a small lamp to act as one of those hanging lights we are all so familiar with when someone is given the third degree when being questioned.

Since I was using a Macro lens, I knew my depth of field (dof) was going to be pretty shallow.  I under exposed as much as I thought the image could sustain without muddy-ing up the bird.  I went into Lightroom; and I used the gradient ND filter effect to under-expose the image further at the top, bottom, and sides.  In the end my colleague loved it and our co-worker roared with laughter.

Bird-napped

Using a new camera with Old Lenses

If you have been paying attention to the attributions on my photos you would have noticed I include the camera and lens information on every photo.  (I save the aperture and speed information in every photo's meta data.)  I save the equipment information on the attribution for my students. (Wave hi everyone.)  And to my friends and students (who are using Canon DSLR Cameras) I highly recommend purchasing FD Lenses.  Why?  #1 reason:  They can be used with all of the modern Canon cameras (such as the T1i up to the 1D X (with an adaptor)).  The #2 reason:  They are SUPER CHEAP (most anyway).

Source: Malaysian Internet Resources - http://www.mir.com.my

So what are FD lenses?  Canon has changed the part (aka a bayonet), which connects the lens to the camera a few times in it's history.  Currently Canon is using an EF mount.  Prior to the EF mount, Canon used a FD mount.  There are two obvious differences between these two mounts.  1, the FD is smaller than the EF.  2, the EF contains electronics; and the FD does not contain any electronics, such as auto focus.  FD lenses are fully manual.  This means the aperture is located on the lens, as show in the image to the left.  And you must focus.  No auto focus.

When using a modern camera along with a FD lens, the camera's aperture controls are blank.  You will need to rotate the aperture ring on the lens and adjust the speed on the camera.  Now the modern Canon camera will meter the subject; however the metering process will be off.  If your camera uses "Live View," then you may notice that the "Live View" feature will not give you a "Real" idea of how dark/light the final image will be.  To overcome this problem, you will have to take multiple shots until you have your desired exposure.  Or after knowing how the lens shoots; you can adjust the exposure compensation in your camera as soon as you turn on your camera (with the FD lens attached).

I've found that FD lenses with my Canon 5D mark II offers a darker image when utilizing "Live View."  And when using the view finder the metering is darker (as I mentioned above).  As a result I know before hand to compensate camera speed to expose a slightly lighter image.  I've found that you can loose up to two stops. 

OMG!  I'm loosing two stops of light?!?  Yes you can.  Why on earth would I ever buy a FD lens? Easy... I paid $20.00 for a 28mm f2.8 FD lens!  (Enough said...)

Learning how to use the FD manual lenses with your modern camera may seem like a lot.  But the learning curve is incredibly low, in my opinion.  Like everything, you have to learn how to use it.  The more you use it the quicker you will become, using it.

WARNING: At first you will notice you are not taking photos as quickly as you would with an auto focused EF lens.  THIS IS GOOD!

I have really nice EF lenses.  However you will find, I almost always shoot without the use of Auto Focus.  Cameras are tools.  Yes, you should use auto focus.  However in my case. I also view it as a skill which should be sharpened constantly.  For me, the biggest reason I shoot in manual focus is I can manually focus faster than most can with Auto Focus. The bee in this image was shot with an EF lens, using manual focus.

Below are examples of the image quality achieved with FD lenses.

Far left: Shot with a Canon 5D mark II and a Canon 100mm Macro 2.8L EF lens.  The lens in this photo was about 2 feet away from the flower.  Obviously I cropped into the image.  The bee was quickly collecting pollen.  This image is NOT one of a series of rapidly shot photos. I took 3 different and single shot photos.

Middle: Shot with a Canon 5D mark II with a Canon FD 50mm Macro 3.5 lens.  The lens was about 2 inches away from the bee.  The bee was moving quickly around the flowers; and there was a wind moving the flowers.  You will notice a white dot on the butt of the bee.  Click the image!  The image is over 1300 pixels wide.  That white dot is made of up of 3 very distinctive balls of pollen. 

Canon 100mm Macro 2.8L with manual focus. Click to enlarge.

Canon FD 50mm Macro 3.5 lens. Click to enlarge

Canon AE-1 - Vivitar SMS 80-200mm F4.5 MC Macro Focusing Zoom (FD Lens). Click to enlarge

Far Right: Shot with a Canon AE-1 film camera using a Vivitar SMS 80-200mm F4.5 Macro Focusing Zoom (FD mount lens), using Illford's HP5 400 speed black and white film.  This photo was NOT retouched at all.  The boy was playing a guitar, and was looking up and down at his guitar while he showed us how well he played.  Pay close attention to the sharpness of the fly away hairs to the left of the face. I had less than a second to focus on the boy.

At the end of the day, what matters is becoming a better photographer.  Regardless if you are new, advanced or an out right pro.  You never stop getting better at photography. FD lenses are spectacular buy.  I highly recommend you look into Canon FD lenses.  You will need an adaptor. The adaptor I purchased from B&H was approximately $50.  It is a Bowens.  They have a more expensive adaptor.  However the sales person there was unable to tell me what the benefit of the more expensive adaptor was.  I expect to purchase the more expensive adaptor in the near future.  I'll post an update to the blog and reference this article when I do.

Below is a photo of available FD lenses which you can buy from the net.  I purchased my FD lenses from Ebay and Craigslist.  Please research before you buy.  Make sure the lens hasn't been damaged beyond what you can live with.  Make sure the lens does not have fungus.  When you get the lens, examine it with a high intensity small flash light.  If you see anything beyond dust, in the lens (which is common in older lenses and usually do not effect the photo) raise a question to the seller.  If you suspect fungus, DO NOT ATTACH the lens to your camera.  

Good luck and please comment on this article.  You can just type in Good, Bad or whatever.  I really want to know if this was of any help.

Source: Malaysian Internet Resources - http://www.mir.com.my

Photo can be directly found at: http://alturl.com/bdhc4

Cultural Gathering In Contrast

People enjoying the peace at Lincoln Center, New York.  My intention of this piece was to utilize the brightness of the illuminated water and the night to establish a high contrast black and white photo.  I wanted to capture the feeling which would allow the viewer to feel as if they could be one of the people there or one of the people approaching the fountain.

Pic of the Day: Young Ice

As I wrote yesterday, I tried out my Ice Light yesterday for the first time.  I posted up some photos which I was asked to take.  A friend of mine who has messed around with photography was there, and I let him take some photos with the Ice Light.  Those photos are his to post or do whatever he wishes.  And I will not post them on my site.  However I did ask him, since he was there, if he wanted me to take a couple of shots of him.  He said yes.  These are the results.

Pic of the Day: The Brock Portraits

One of the experiences I had at the PDN Photo Expo in New York City was my purchase of a Westcott Ice Light.  I immediately knew I should I have purchased two of them.  They are spectacular.  I would recommend this light to anyone looking to pick up consistent lighting for their photo or video shoots.  The light is super light, mountable and provides a nice true light.  

Today I was able to photograph a very gifted designer Daniel Brock.  After seeing my work, Daniel asked me to take his portrait.  I made sure to keep him calm and relaxed.  I constantly spoke with him while shooting and photographed him with both a Canon 100mm 2.8L lens and a Zeiss 50mm Planner 1.4 lens. 

My goal was to take very flattering photos of Daniel; and take some high contrast photos, which Daniel had said he liked, after viewing my work.

Photo of the Day: Grips

While photographing Joy Behar, I turned my head and noticed these two "Grips" looking at her.  I quickly turned my camera, took a breath and took the photo.  Joy must have seen me do this, as it did take a few seconds.  If she did she didn't skip a beat.  She respected my art.  I respected her talent.  In the end, respect for one's craft allow you to become better at what you do.

On the Joy Behar set at Current TV, New York City

Taken at the Hoboken Terminal, these post was shot with a Canon 5D mark II and a Canon  24mm TS-E 3.5L lens.  I used the lens to create a shallow depth of field along the length of the decaying post.  I used "Manual Zoom" to take the close up.  In case you didn't know what "Manual Zoom" is, it's when you physically move your body closer to your subject as a means of zooming in.  In this case I was crotched on the "Zoomed Out" photo and simply stood up and used the Live View feature of my camera along with my arms stretched out fully to obtain the "Zoomed In" point of view.

Pic of the Day: Portraits

This may be the last photo/s I post while Barack Obama is the President of the United States of America.  So to represent the two main political parties running for that office... here are two portraits.  Both portraits were shot with a Canon 5D mark II and a 100mm 2.8L lens.

Point And Shoot Cameras: My Top Rated & Why

A friend asked me to recommend a point & shoot.  After some research, I narrowed my choices down considerably.  Timing was good as the PDN Photo Expo was coming up.  So on the expo's last day, I had my opportunity to check them out.  I was impressed and completely blown away.  So which point and shoot was best?

Pentax WG 2: This is a very sturdy and impressive point and shoot for the adventurer or a family with small children who like to play hockey with the family camera.  Very impressed by it's price point, durability and overall package.  One cool feature the WG 2 has are 6 small LED lights circling the lens which allow you to do "Micro Photography," according to Pentax's brochure.  The battery for this camera is between $25 and $40, as 3rd party batteries are available.  It takes an SD card and has a carabiner & strap which comes as part of the overall very rouged feel of the package.  This camera can take photos up to 40 Feet under water, and in 14 degree weather.  It can be dropped from about 5 feet and can withstand over 200 lbs of pressure.

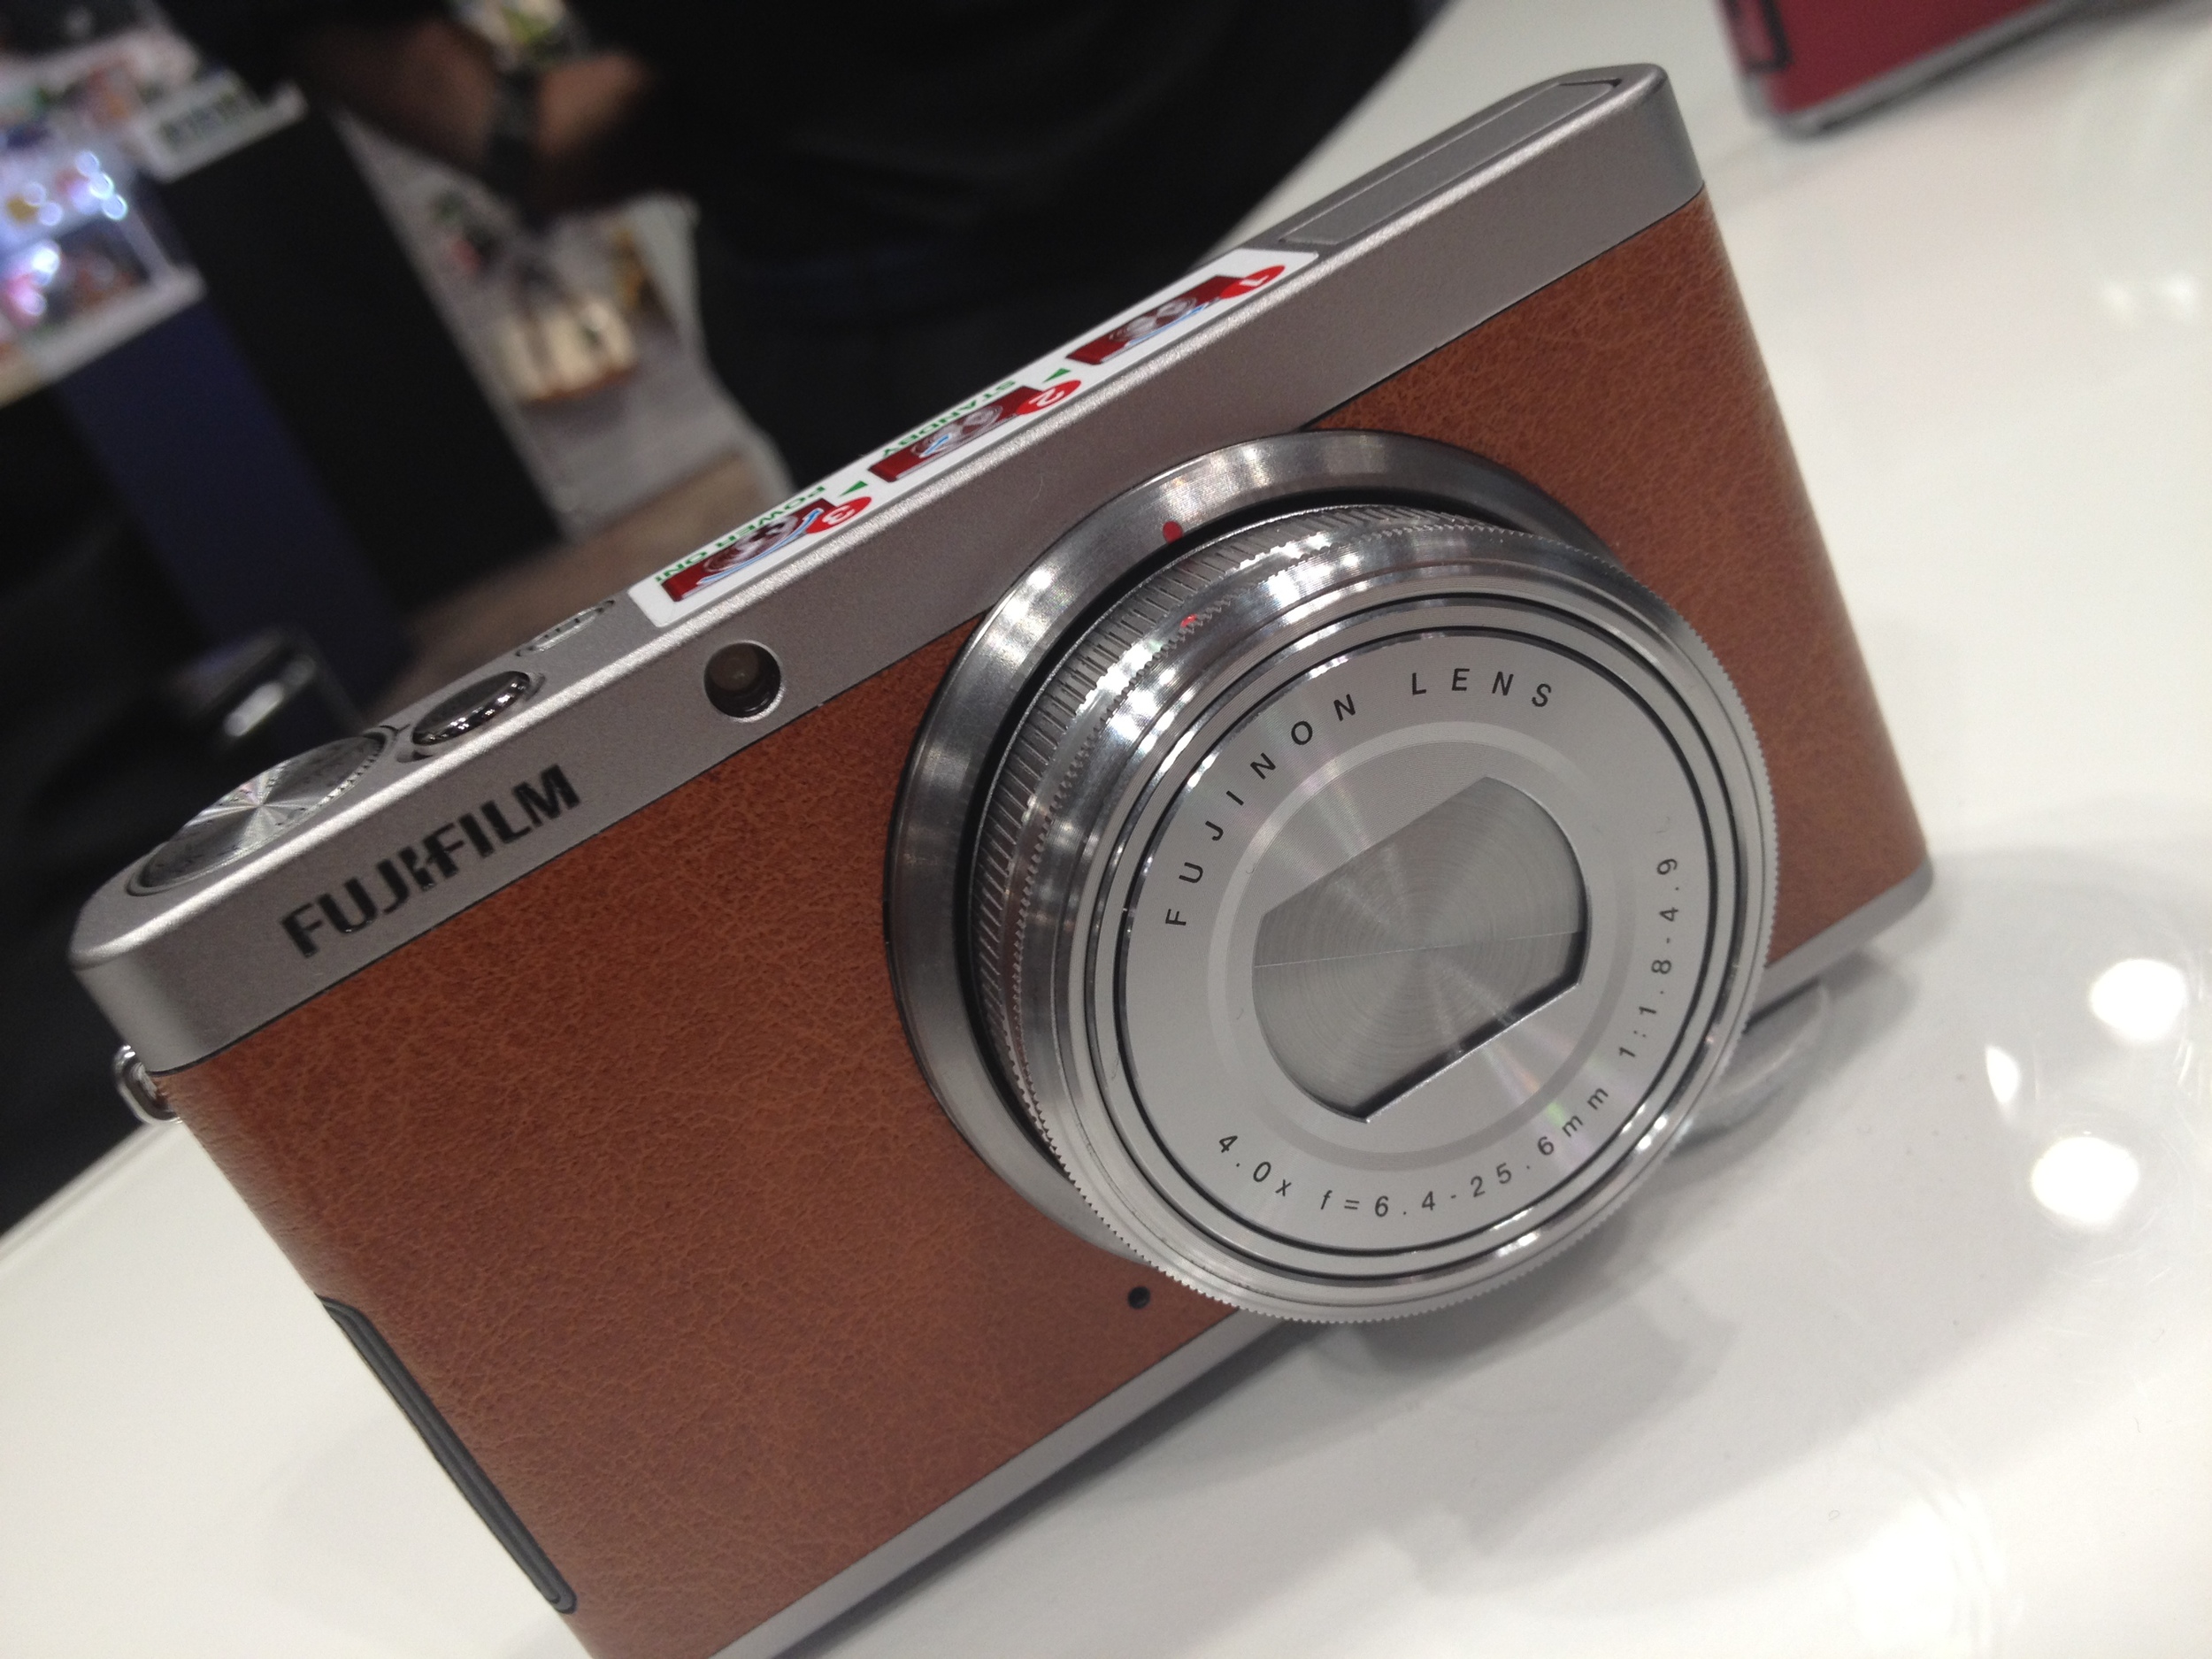
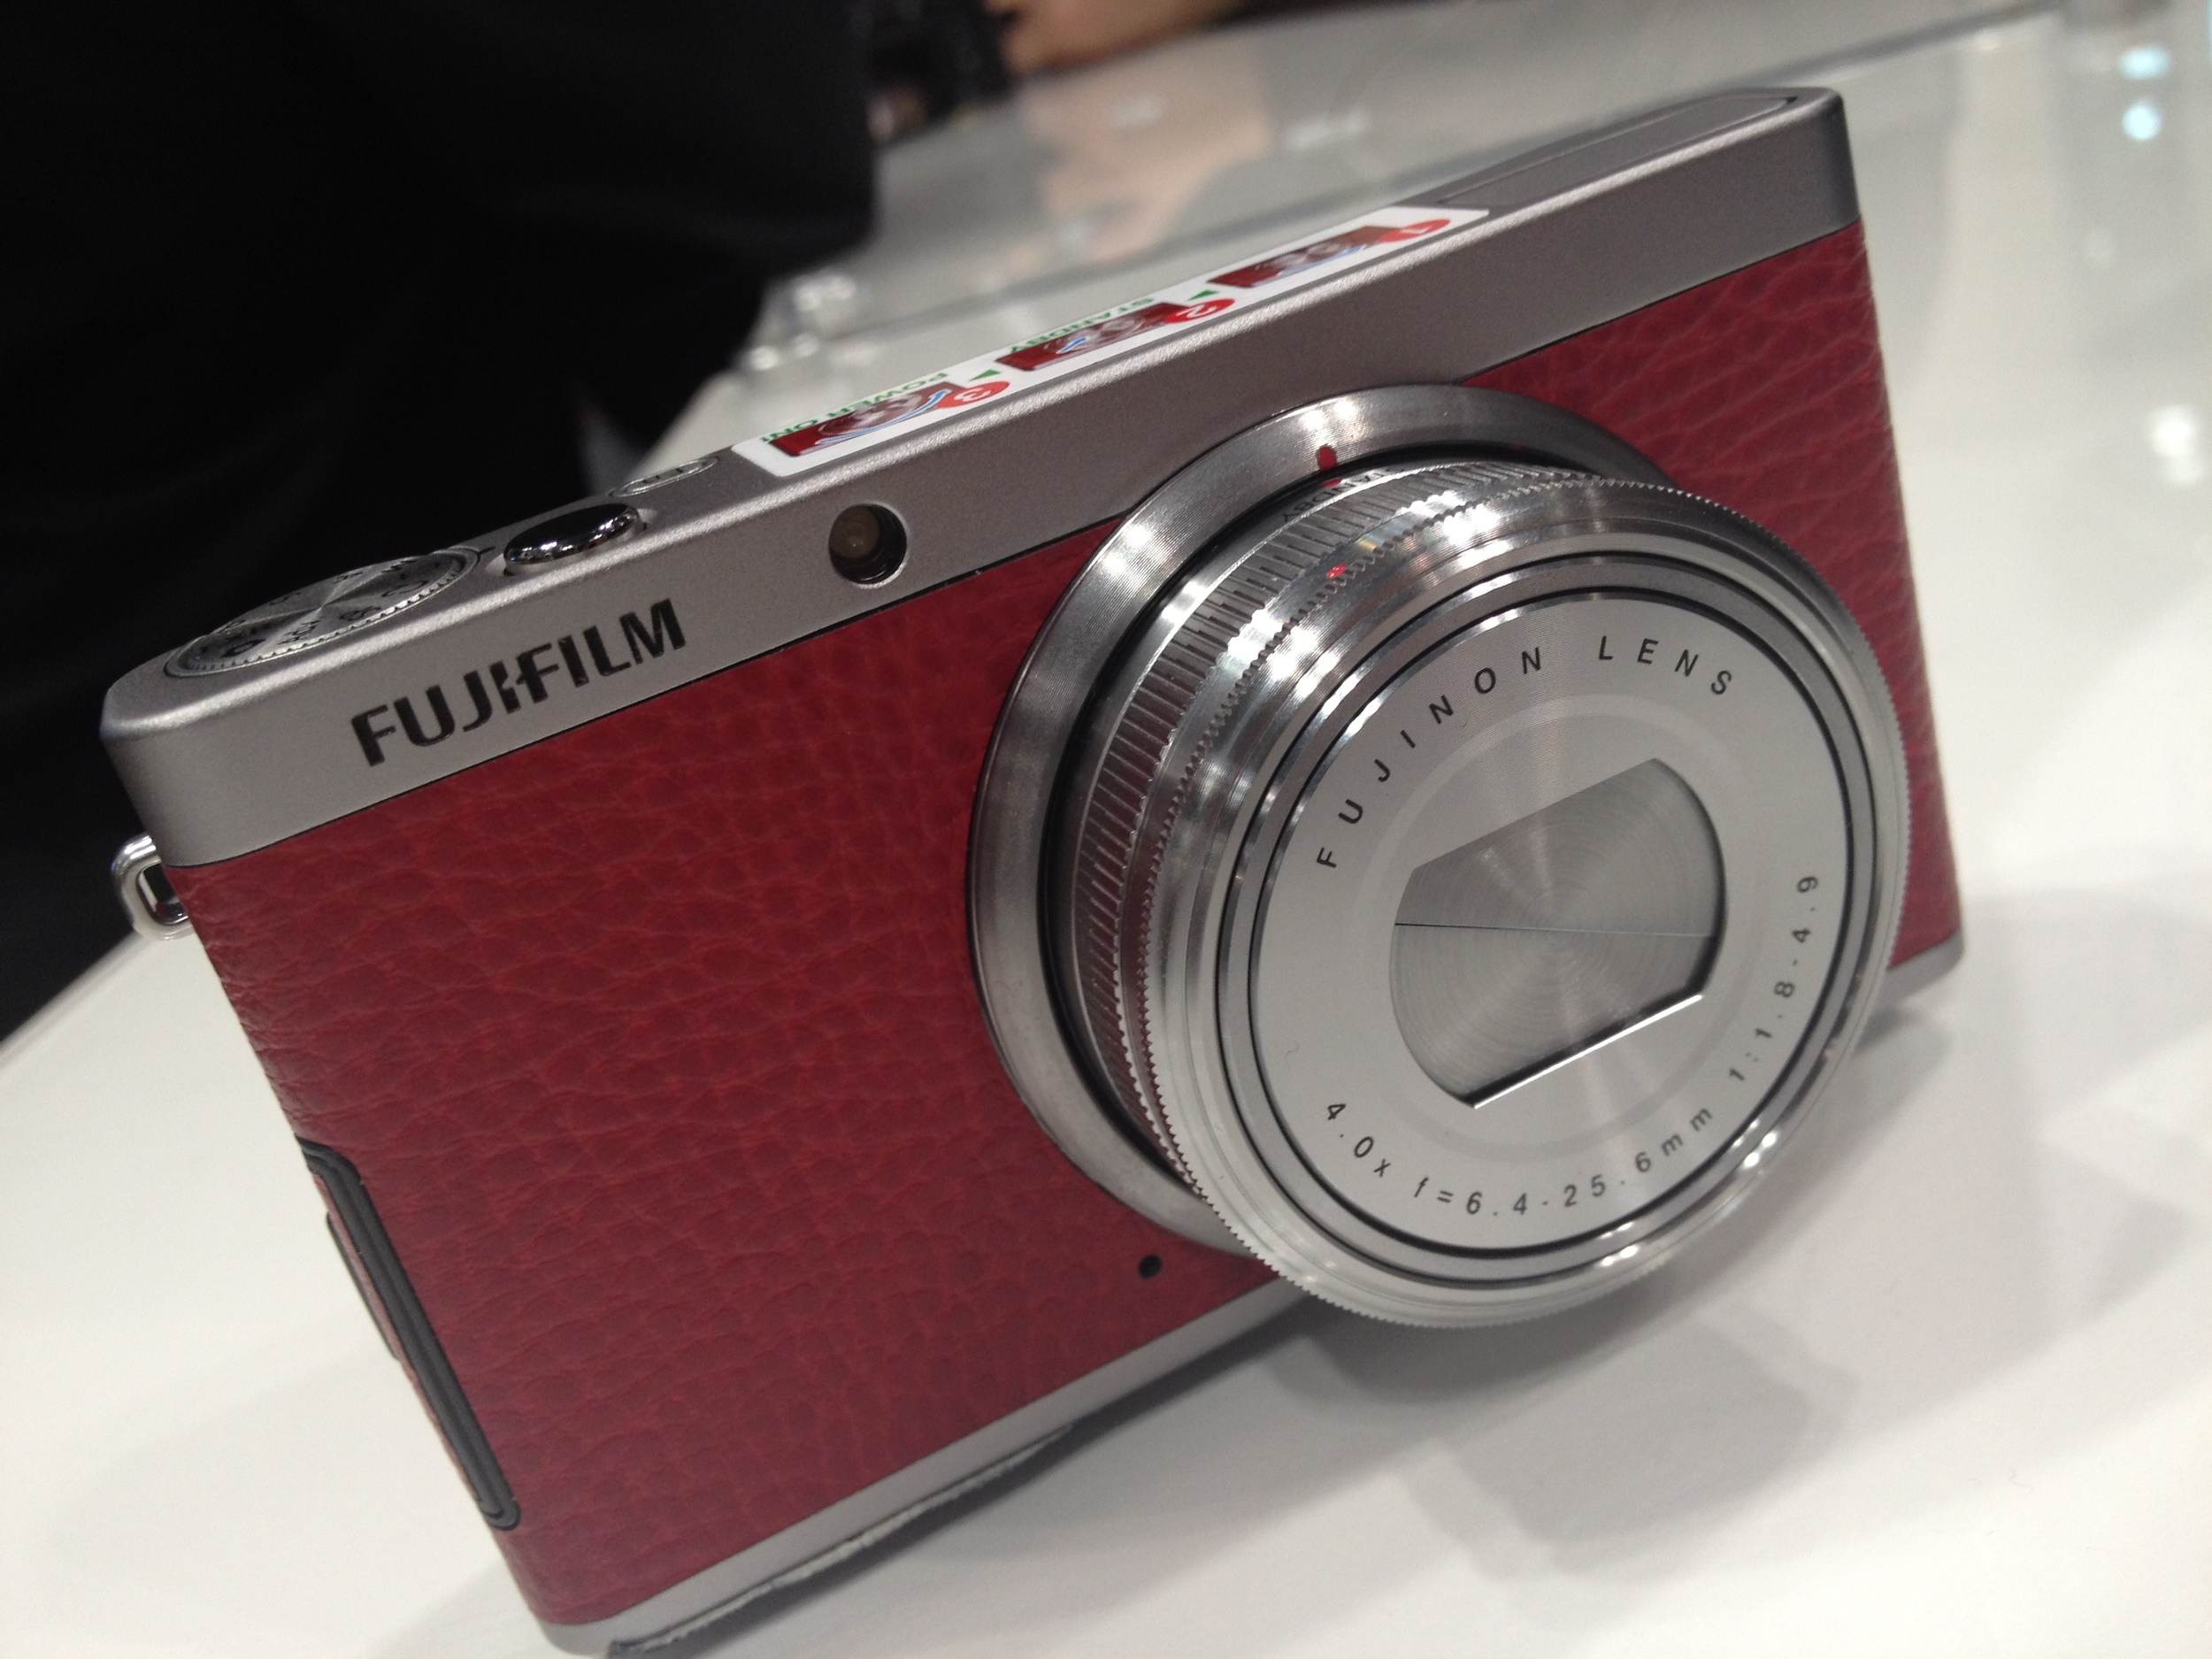
FujiFilm XF1:  This point and shoot is by far the most fashionably and trendy looking point and shoot of the lot.  It is simply beautiful.  And I believe for that look alone it will do well.  But it's far more than it's beautiful facade.  The FX1 has a F1.4 lens.  (The lower that F number means the better lens for low light photo taking.)  The lens is going to be the main feature here.  As the lens closes flush, but pops out to go into a standby mode, then turns into a manually focusing ring.  It's a hit or miss feature.  I liked it.  Everything about this camera screams buy me.  But it is not tough at all.  I would even want this camera out in a misting rain.  The leather wrapping which comes in 3 colors, brown, red and black is not water resistant.  FujiFilm made sure to offer a good amount of accessories including vintage styled cases.

Olympus Tough TG-1 iHS:  I am completely impressed with this little camera by Olympus.  Not only is it a much sleeker touch point and shoot camera like the Pentax WG 2; the TG-1 allows you to add a "Fish Eye" and "Telephoto Zoom" lens to it.  Like the WG 2 it can sustain the same amount crush proof pressure of over 200 lbs.  It can do everything the WG 2 can do, and more.  Where it differs from the WG 2, the TG-1 can be dropped from up to 6.6 feet. And has a F2.0 lens, which allows you to take photos with far less grain in low light situations!  It also has a 3 inch OLED display.  This little camera has a technology which allows it to quickly identify what it's being pointed at, allowing you to take that sudden photo faster and sharper than the competition.  In the end this is the camera I would buy.  And I believe I will.

Unfortunately I only took the brochure for the TG-1.  So i am sourcing a photo from the lionlinks.com website, where they have written a few words on the TG-1 as well as many other cameras.